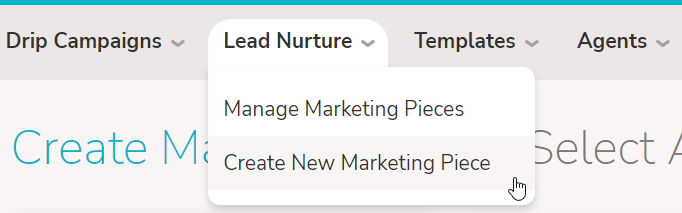
So you’re an admin looking to prepare a company announcement, newsletter, open house guide, or holiday piece on behalf of your agents...
How do you do that?
Well, it is a two-part process. Those parts are:
Creating Static TemplateFirst, you’ll want to make sure that you have a template built and ready to go.
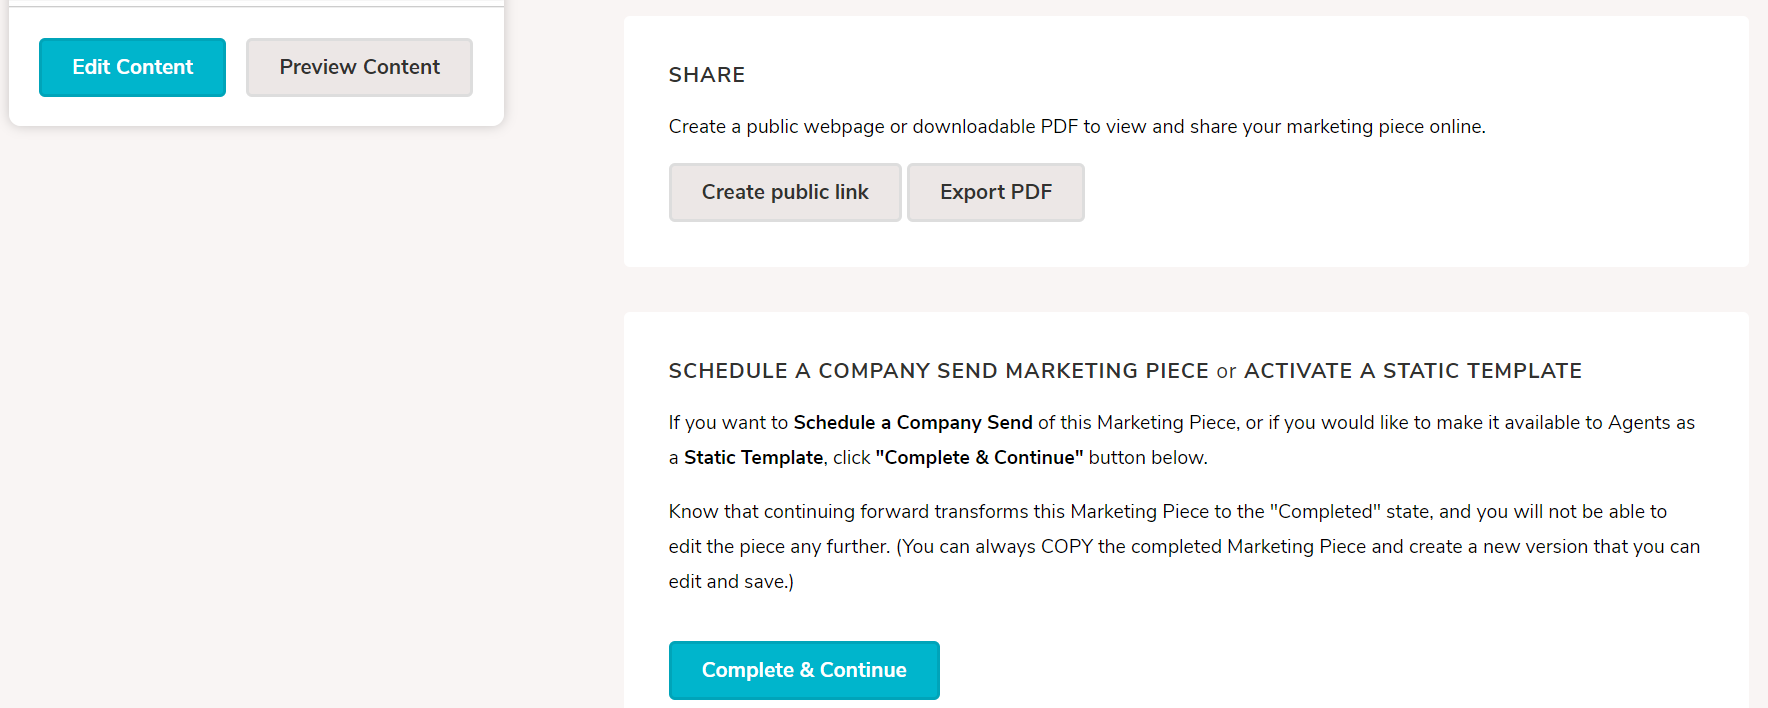
On the Create Marketing Piece| Edit page, you’ll be able to set a name for your new Static Template. If you need to make any additions to the original template, click the Edit Content button underneath the thumbnail image to enter the Zephyr Editor and make the final changes to your piece. Remember, agents won't be able to make any changes to the content. Once everything looks exactly as you want it in the final piece your agents will send to their contacts, click Save in the piece to go back to the Create Marketing Piece| Edit page. Set your "Static Template Title" and "Email Subject Line", then "Save" those items. Finally, scroll down to the final section. Click the Complete & Continue button to create a new Static Template, which we’ll show you how to make it available to your agents below.
|
Activating a Static TemplateNow that you have your Static Template created, you'll be brought to the Template Details page. From this page, we'll Activate the template to make it available for agents to use. Here, you can make any final changes to the Template Title and Email Subject Line in the top area. Scroll down to the "Lead Nurture Settings" area and then click Activate at the bottom of the section to make the template available to agents. And just like that, you have a Static Template that your agents can send out to their contacts.
Manage "Lead Nurture Access"In the "Lead Nurture Settings" area, you can also configure which agents or groups you want to have access to the static template by adjusting the "Lead Nurture Access" drop-down menu. It is likely defaulted to "All Groups and Agents". If you make any changes, make sure to click the Save Changes button.
Schedule a Company SendTo create a Company Scheduled Send, also fill out the Company Scheduled Send area with a date and time, set a Recipient Sphere (you may only have the Primary Sphere to select), and click Save Changes. You will see a confirmation window regarding when the notification emails for the piece will be sent. Clicking the Schedule Company Send button will complete the set-up process.
Setting an Expiration DateTo automatically deactivate the template at a future date, click the optional "Expiration" field and select the date and time in question. Don't forget to Save Changes to save the settings. |