If you're comfortable with the Zephyr Editor and creating templates, and want to get right to it, Click here to get started more quickly.
With Automation you can help your agents streamline the process of creating a ready-to-send marketing piece from various event types.
You'll first want to build a new template inside of the Zephyr Builder: Creating an Automation Template. You'll fill the template with placeholder Dynamic Tags which will populate with the designated listing info before sending.
Once you've created that template, you'll want to assign it to an Automation Event: Setting your Zephyr template as an Automation Template
Creating an Automation Template
|
|
Creating a Zephyr Automation template begins just like any other. In your account hover over Templates then click Create New Template.
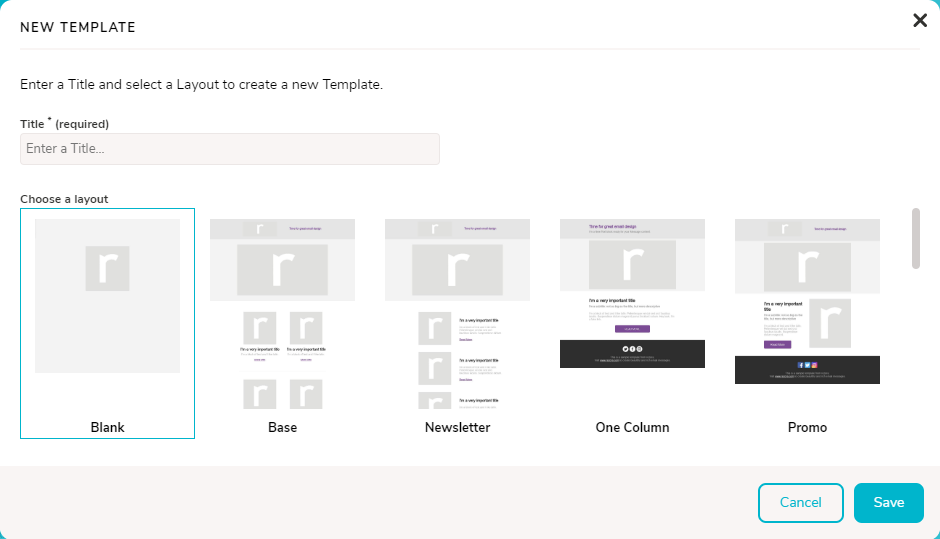
On the NEW TEMPLATE screen that appears, you'll first fill out the Title and select a starting Layout, then finally click Save to create your template.
|
Editing your Template
After you click Save, you'll land on the Template Details page. Here you can see some useful information about the template itself:
- Editability: This determines if your team can edit template content and if so, then which rows they can add to the template.
- Archive: This field will hide the template from your view on the templates page. The template cannot be archived if you intent to use the template for Automations.
Now that you've got a template with the right settings in place, you'll want to design and edit the template with a fantastic design.
To edit the template, click the Edit.
|
Template Guidelines
There are some things to consider when you're setting up this template for Automation success:
- Correct number of Listing and Agent tags: For Listing Automation, this means 1 agent and 1 listing. For Contact automation, this means 1 agent, and 0 listings.
- Your agents can edit their content depending on your 'Editability' setting for the template: However Automation templates are meant to be truly "ready to send". Don't place any content that agents need to replace manually.
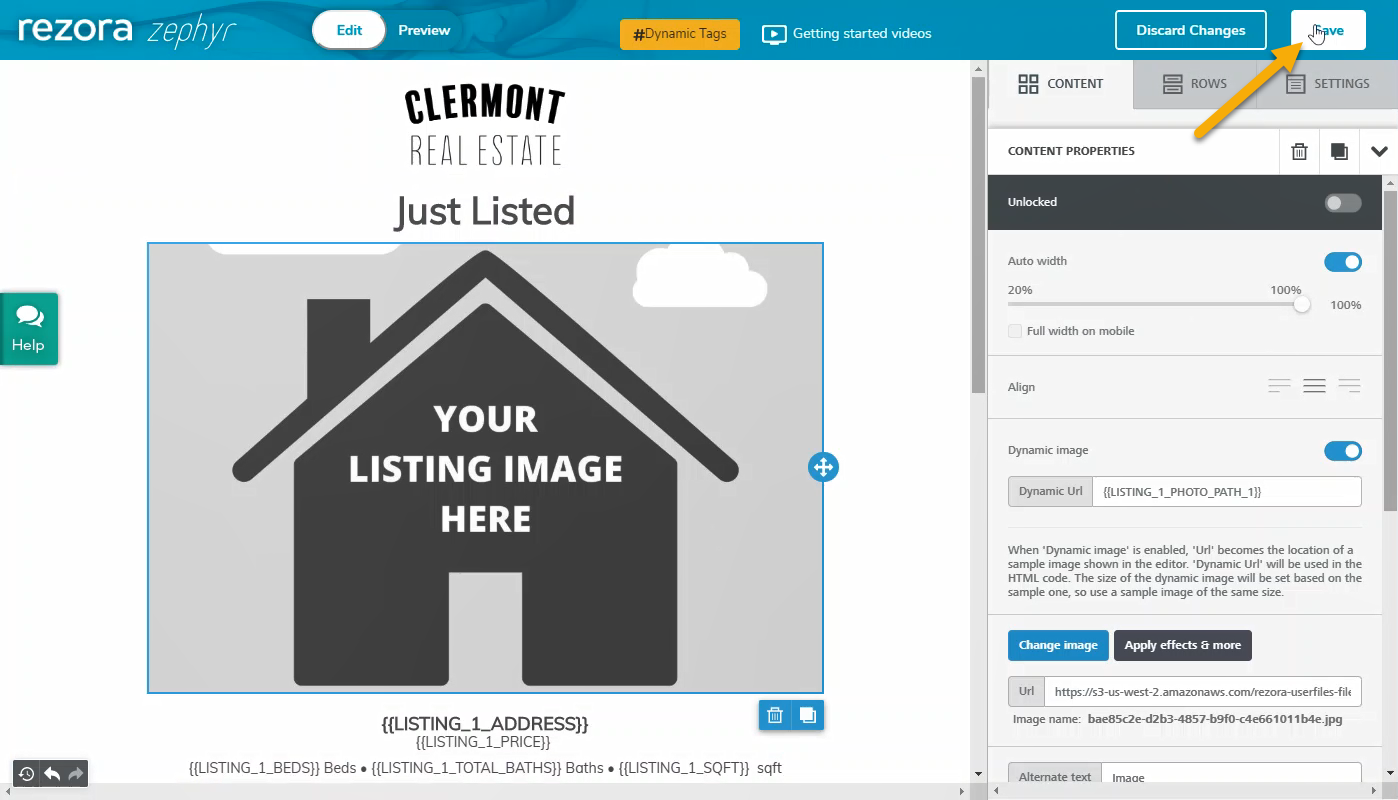
- Set your images to Dynamic: Using the "Dynamic Image" toggle and dropping in the appropriate tag in the "Dynamic URL" box allows the correct listing image to pull into the final piece.
- Don't mix tag types: Agent and Listing tags pull information from different places. It is best to keep those in separate rows.
- Link Everything: You want to give your agents' contacts every opportunity to reach a listing's website. Don't forget to link images, buttons, or text to the Listing or Agent Website!

|
Is my template ready to use?
There are some simple checks that you can go through to see if your template is ready to add as an Automation template:
- Does my template only have the correct number of tags? - Automation templates should have 1 agent tag, and either 0 or 1 listing tag for Contact and Listing automation respectively.
- Does this template look "send ready"? - While the agent may be able to make edits based on how editable you've made the template, some may send without looking to edit so we recommend you make sure you don't have anything that needs to be changed before sending (aside from dynamic tags which will be replaced)
- Are the buttons and images linked to the proper dynamic tags? - Make sure to link the images and buttons for the template to the Listing Link tag.
- If you have social media icons, did you link them either to tags or static links?- This falls in with the other linking, but is sometimes a step that folks forget. Remember, agents can't change anything in this piece so set up your links with tags (and don't forget to maintain your Company Links page)
- Don't forget to save your changes! - Not a question, I know. But it is always a good practice to save often!
|
|
Setting your Zephyr template as an Automation Template
|
|
See this article here for the next steps in assigning your template to an automation event.
|